STUDENTS: ONCE YOU HAVE SUCCESFULY UPLOADED YOUR XML FILE AND ARE FAMILIAR WITH CHANGING THEMES AND GENERATING POSTS YOU SHOULD DELETE THIS PAGE FROM YOUR BLOG
There are plenty of resources on the WordPress support pages that will go into much more detail than the following but it should give you a good starting point. Also worth looking at is this overview video on Youtube by NuuVidea
NOTE: This brief tutorial requires that you have already set up and activated your WordPress website. For more details on how to set up a WordPress website, see the setup guide.
If you can view this text you will have already uploaded the XML file and so can ignore the first step of this how-to and jump straight to step 2: Choosing a Theme for your Blog.
STEP 1 – IMPORTING THE XML FILE
From your blog dashboard, head to TOOLS > IMPORT
Select WordPress from the list of blogs
Locate the XML file that you wish to upload and click upload file and import
Tick the Import Attachments box and click Submit
Shortly after clicking Submit, you will recieve an email confirming the upload, you can check the upload has worked by clicking on the blog link in the email
STEP 2 – CHOOSING A THEME FOR YOUR BLOG
A blog’s ‘theme’ i essentialy a skin and controls the look of the website. Different themes have different options and appearances so find out which one works best for you.
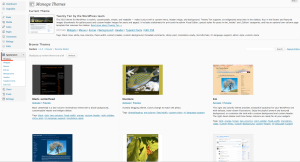
Click on Appearance > Themes
You will be presented with a gallery of themes to choose from
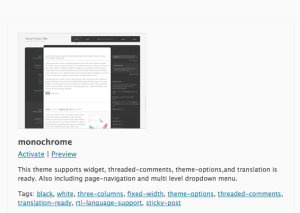
Once you have found a suitable Theme, you can activate it or preview and then activate
STEP 3 – USING PAGES
Pages can be added and removed easily on your blog and are designed to seperate your traditional blog timeline from other information. Pages cannot be ‘posted’ to and are best thought of as ‘static’ pages
To manage your pages click on Pages on the left hand side of your dashboard, you will be presented with a list of your pages. From here you can add, remove and edit pages
Clicking on one of your pages will open up an editing page where you can insert a title, text, images and so on. Once you have finished simply click on Publish/Update and the page will be saved
STEP 4 – CREATING POSTS
The main feature of your blog is to regularly post items to your followers and peers. The way to do this is through posts which will appear in a time-line on your blog, with the most recent displaying at the top.
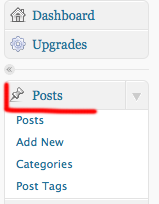
To manage posts and create new ones, click on Posts
In the post management screen you can add, remove and edit posts, just as you can in the Pages screen
To add a new Post click on Add new
The post editing screen will load and just like the pages tool you can add your title, text and any other images you require before clicking publish for your post to go live


